There may be nothing more upsetting or irritating than when a meal we’ve been cooking is ruined because either we cooked the food too fast and burned it or too slowly, which causes the meal to be late. To help you to avoid such stress, today we are digging into heat levels and cooking speed, so that you better understand what the different heat levels mean, and also how to troubleshoot your own cooking so that you can be confident in the kitchen.

Heat Levels and Cooking Speed
One of the cooking anxieties I hear most often from people is that they feel like they don’t understand stove heat levels well enough. For instance, what does it mean when something is supposed to be cooked at medium-high rather than high or medium? What is low heat used for? And how do you know if you’re at the right heat level for the dish you are preparing?
If any of these worries have ever occurred to you, then this post is for you! Today, we’re going to explore heat levels and cooking speed. We’re explain what different heat levels mean and also how to troubleshoot your own cooking so that you can be confident in your kitchen.
Understanding Your Stove
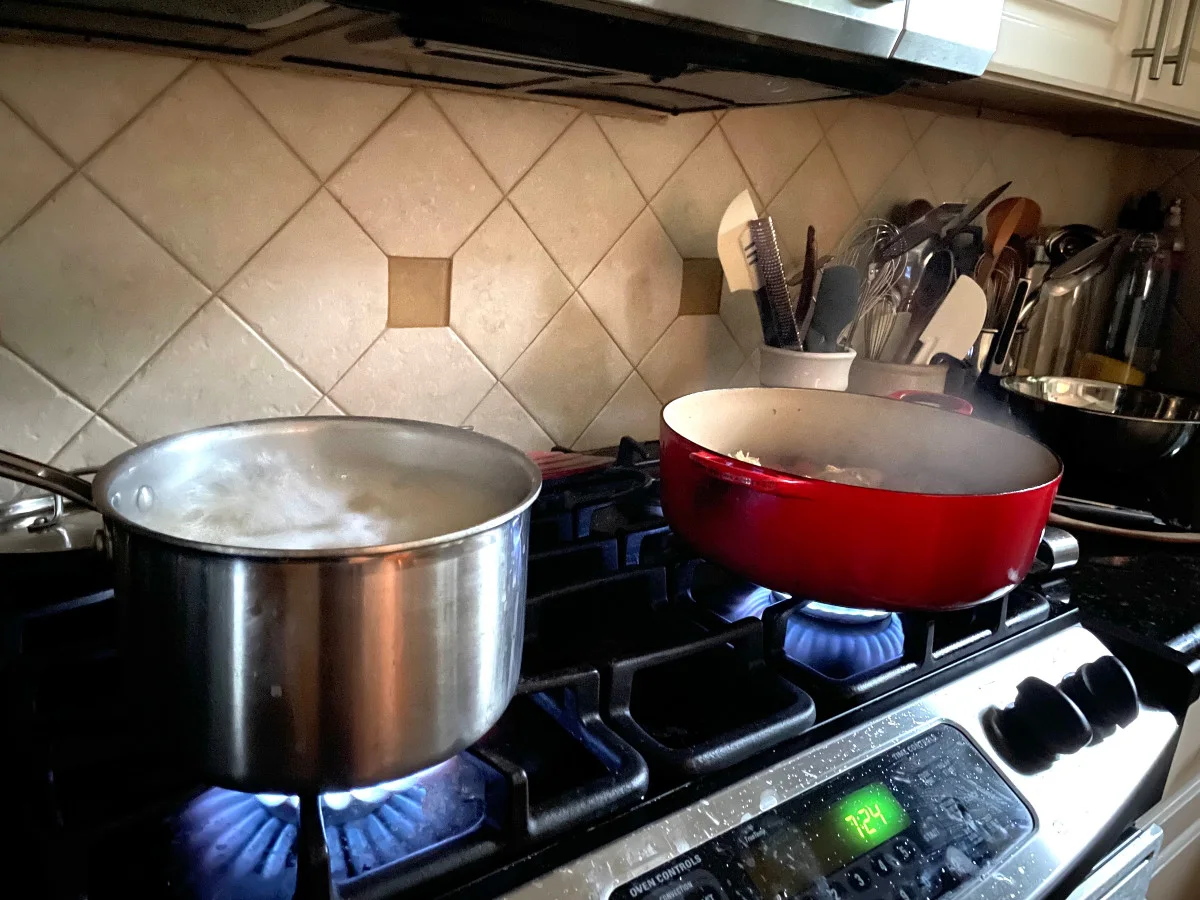
Do you have a favorite burner on the stove? For me, it is the front right. My impulse is always to start out whatever I’m cooking on that burner, but the truth of the matter is that this is a habit that is important to break. Why? Because nowadays most stoves have different burners that have different levels of power, which means that favorite burner of yours (and mine) might not be the right one for the dish you are preparing.
So, my first tip when it comes to heat levels and cooking speed is the following: before you even start cooking, think first about which burner you will want to use. Here’s what you should consider when it comes to picking a burner:
High powered burners
Usually you have one or two burners that are more powerful and are labeled with a term like “power boil” or “high output.” These are the burners that you are going to want to use for bringing things to a boil, frying, and cooking on high. These burners are not good for low and slow simmering as usually their lowest setting will leave your food cooking just a little too fast.
Lower heat burners
Then there is usually one burner that is less strong and labeled something along the lines of “low output” or “simmer.” This is the burner you are going to want to use if you are supposed to cook something at a simmer for a long period time or if you are going to want to cook something on low. This burner will not be good for the higher heat cooking because either it will take a much longer time (like bringing a pot of water to a boil) or it just won’t get quite hot enough.
But what if a recipe goes through different levels of heat?
Let’s say a recipe asks you to start out on a higher heat to bring something to a boil and then turn it down to a low heat. Usually, all of that can be done on one burner. For these, I tend to use my stronger or medium level burners and follow the recipes directions for high heat, medium-high heat, or low-heat. I do not use my low-level burner for these.
A note on electric stoves
Electric stoves have a reputation for being less responsive when you need to change the heat while cooking a dish. This is less true with newer electric and induction stoves, but if you have an electric stove that tends to be slower to respond, one trick is to use different burners. For instance, if you need to first sauté something and then turn it to low or bring something to a boil and then turn it down to a simmer, start with one burner and then switch to another for the low part.

Stove Heat Levels: What They Mean for Cooking
The next step in mastering heat levels and cooking speed is to have a firm grasp on what the different heat level descriptions used in recipes actually mean.
High Heat: This the output right when you turn on the burner. It is the setting you will use for bringing liquids to a boil and getting the heat up quickly.
Medium-High Heat: This is usually about 1/3 of the way around the dial when starting at your hottest setting. The idea here is that you still want the food to be cooking quite quickly, but not so quickly that it is burning and not so hot that the oil starts to smoke. This is likely where you will do a lot of your cooking such as sautéing, browning meat, and pan-frying.
Medium Heat: This is usually about halfway around the dial, or a little bit more. This is for a gentler, but steady cooking. It is a safe spot, so if you aren’t feeling confident, start yourself off here and then go up or down as needed. This is where you will likely put the dial when vegetables need time to soften without browning or burning, when you want a rapid simmer, and when you want to make quick things like quesadillas or scrambled eggs.
Low Heat: This is all the way around on the dial. This is where you simmer soups or sauces. It is also where you want to sit in order to reduce liquids, as it will do it slowly to avoid cooking away too much liquid and/or burning the food. Finally, it is the setting to use when you want to keep things warm.

What Oil Should I Use for Different Heat Levels and Cooking Speeds?
Whether it is sautéing, stir-frying, pan-frying, deep-frying, or browning, much of the cooking that we do on the stove involves oil. And when cooking with oil, heat levels and cooking speed matter quite a bit. When we cook with oil, we want to keep it below its smoke point, which means we want to get it to the point where it is hot, but not smoking. This is because smoking oil means that the oil is breaking down, which will lead to a bad taste in your food and also diminish the nutritional benefits of the oil. So how do you know which oil to use?
Temperature Levels for Different Cooking Oils
To help you determine which oil to use with which heat setting on your stove, here is a summary of the most common cooking oils and what temperatures you should use them at, from lowest to highest smoke points.
Lowest Smoke Point Oils
There are a few oils that I avoid cooking with all together because their smoke point is so low. These oils are better for finishing a dish, marinades, and salad dressings. They include: flaxseed, hemp seed, walnut, and almond oil.
Middle Smoke Point Oils
The next group of oils have a medium smoke point, between 325-400 degrees Fahrenheit. These are good for sautéing and pan-frying. The oils include: extra virgin olive oil, grapeseed oil, and coconut oil. Butter would also be included here.
Note: extra virgin olive oil is also great for salad dressings and coconut oil works well in baking.
High Smoke Point Oils
The final group are the high smoke point oils, ones that can sustain temperatures above 400 degrees Fahrenheit. These oils are ideal for deep frying, grilling, and roasting. These oils include: light or “pure” olive oil, peanut oil, avocado oil, sesame oil, safflower oil, palm oil, sunflower oil, corn/vegetable/canola oil, and ghee (a version of clarified butter).

It Takes Time
The final thing I will say about heat levels and cooking at different temperatures, is that, like many things in cooking, over time and with practice you will start to get a sense of things. Maybe you will notice that your onions are browning too quickly, then you’ll know to turn it down a little more next time. Or maybe you’ll find your sauce didn’t reduce as quickly as the recipe said it would, then maybe you need to crank it up to a faster simmer next time.
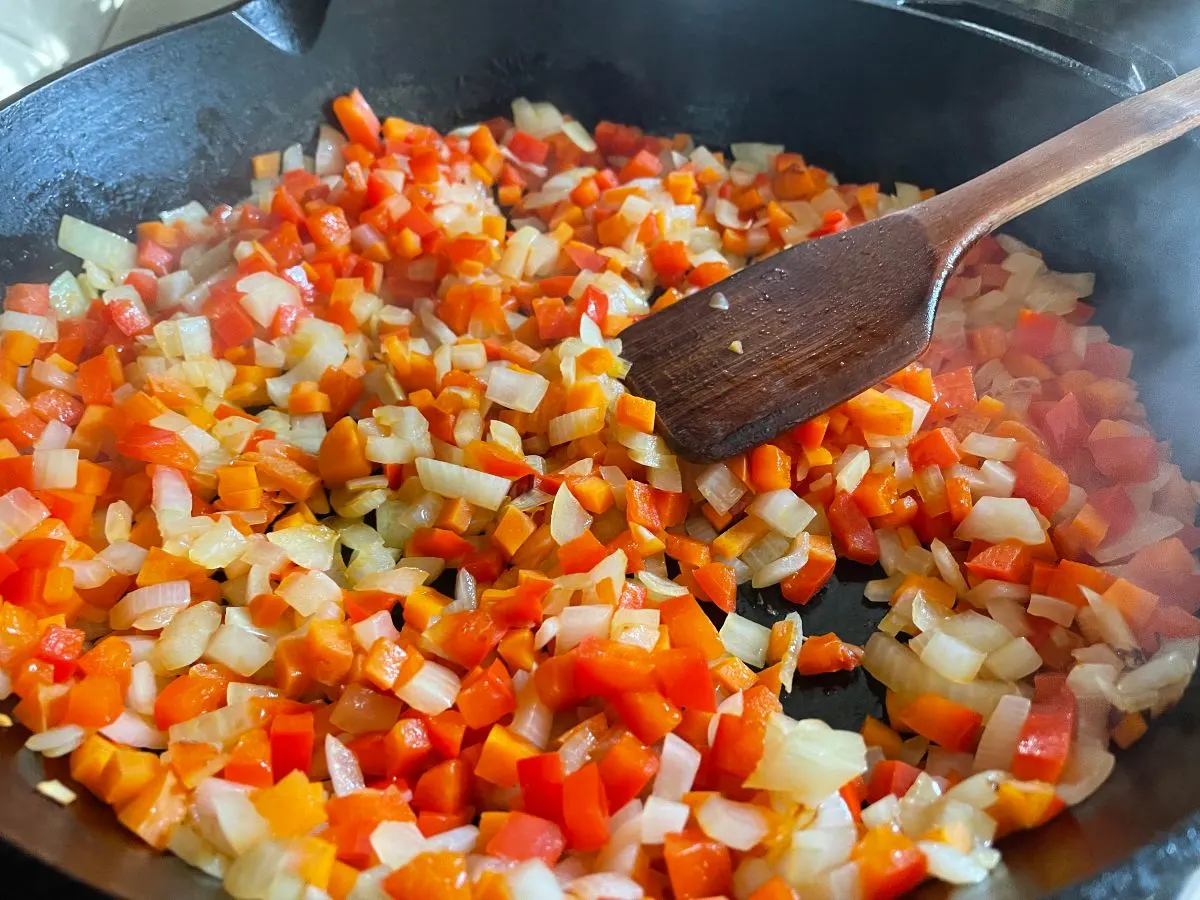
For me, there were many times when my onions got too browned, the sauce stuck to the bottom of the pot, and the rice didn’t fully cook and it was usually that my heat was cranked up too high (yes, I have an impatient streak), so I had to learn to slow things down.
The key is to be patient with yourself and trust that over time you will have a better and better sense of how heat levels impact your cooking.
Do you have a tricky stove or have you found tricks to help you understand heat levels and cooking speed? I’d love to hear your ideas and experiences!
Do you find this kind of cooking information helpful? Make sure to check our our Library of How Tos and the Cooking Fundamentals sections of our website!

Sizzling and Smart: Tips for Sexy Healthy Cooking - holisticfood.com
Thursday 14th of March 2024
[…] the art of cooking begins with a fundamental understanding of heat levels. Knowing the right temperature for the task at hand is crucial for achieving the perfect texture and flavor. For instance, a […]
Root Vegetables: How to Store, Nutritional Info, and Recipes
Tuesday 12th of December 2023
[…] Heat Levels and Cooking Speed: How to Know If You’re Cooking Your Food Correctly […]
zara
Wednesday 4th of January 2023
wow nice post